Electronic Contract Letters: A Start-to-Finish Guide

|
Jake Breneman Product Manager |
Would you like to simplify your contract letter process, while saving time, money, and decluttering your office? Here’s a start-to-finish guide to help you move your entire routine online. From creating to delivering to collecting contract letters, you’ll save time, paper, and money.
A. Create a Custom Form
Your first step is to create a custom form so employees will have a place to verify and sign their contracts.- From the Human Resources dashboard, click on Employee, Setup, Configuration, and Custom Form Setup.
- Click Add. Name your form, then click Save and Go to Next Step.

- On the list of custom forms, click the downward arrow to the left of your new form. You can add Custom Fields and Skyward Fields here. Click Save.
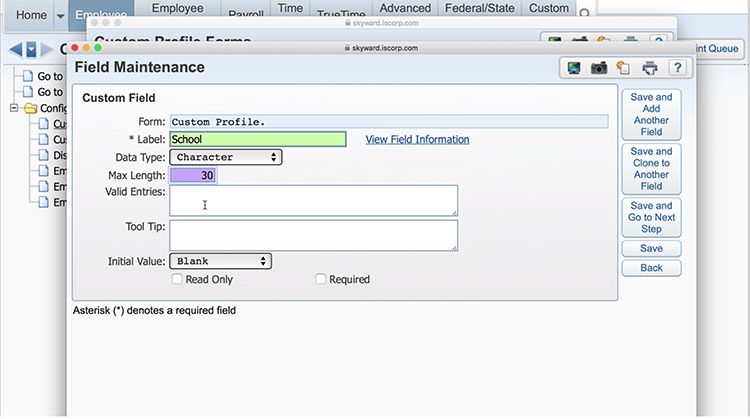
B. Create an Employee Letter
Your next step is to create an employee letter.- From the Human Resources dashboard, click on Employee Administration, then under Employee Management, Reports.
- Select Build Employee Letters, then click Add. Enter a description.
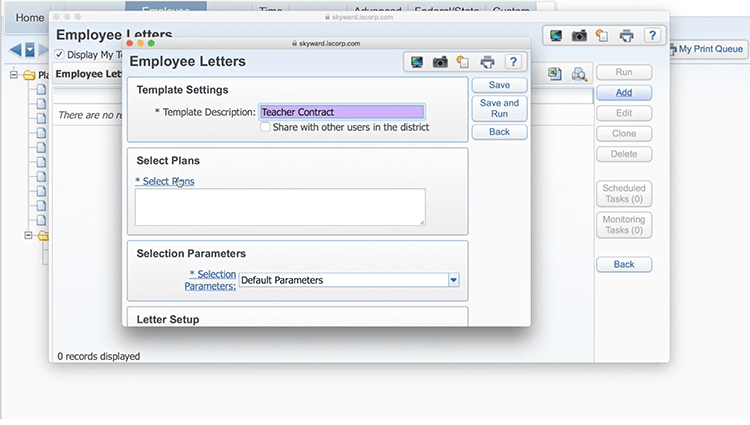
- Under Plans, select the current year and choose the Selection Parameters.
- Click on Select Employee Letter. Click Add and enter a letter name.

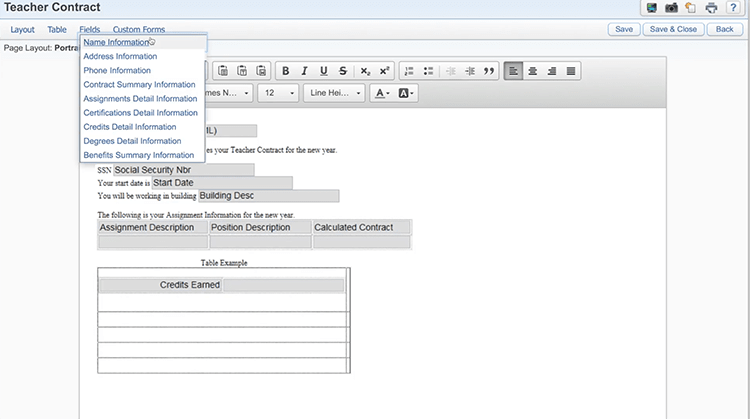
- Click on Save and Edit Layout. Enter text or images you’d like to add. To insert Profile or Employee Management fields, click on the Fields option in the upper left corner. When you’re finished, click Save and Close.
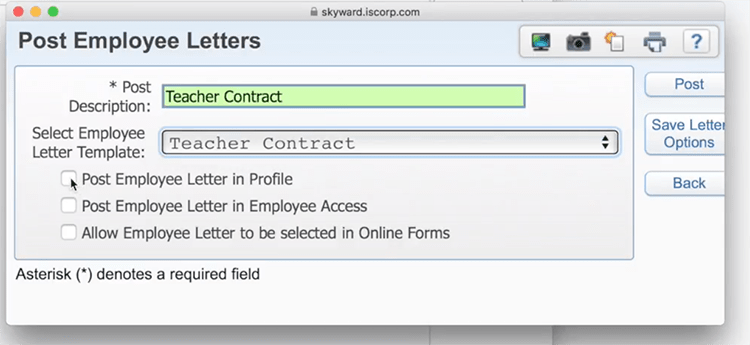
- Next, it’s time to post the letter. Go back to the Reports page, select Post Employee Letters, and click Add.
- Enter a description and select your letter. Identify where the letter should be posted and check the option to allow the letter to be selected in Online Forms. When you’re finished, click Post.
C. Create an Online Form
Your third step is to create an online form to house your letter.- From the HR dashboard, go to Employee, then Online Forms.
- Click Add. Name your form, and, if you’d like, select options like requiring the form to be completed. Click Save, then Yes when prompted to add Step Details.

- Add a step and set the Step Type to Employee Letter.
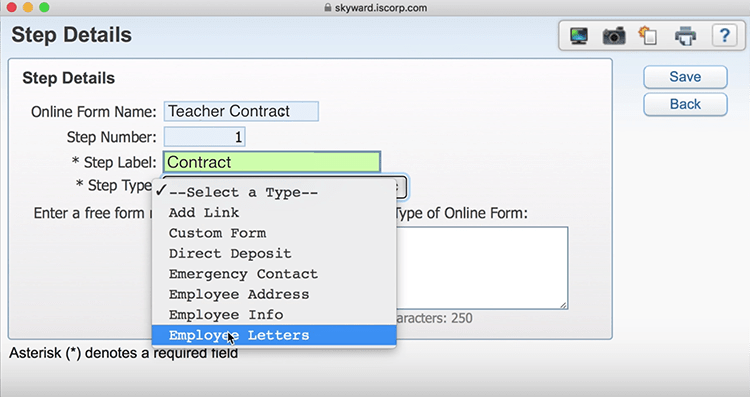
- Select the employee letter you created above. Then click Save.
- Add a second step. This time, change the Step Type to Custom Form and select the form you created in part A. Then click Save.
- To activate the form, highlight the one you want to use, then click Activate Online Form. Set the dates you’d like the form to be available. Click on Selection Parameters and add a new set of parameters. When you’re finished, click Save and Select, then Save on the Activate Online Form screen.
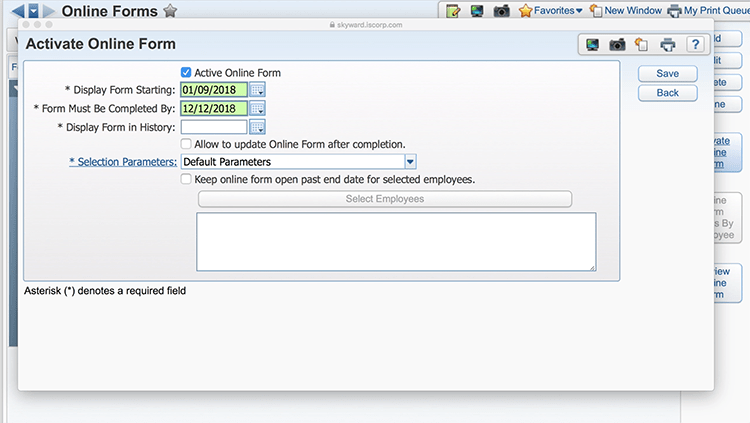
Congratulations! The letter is now available for staff members to view, sign, and submit, and can be easily attached to employees’ HR records.
It’s easier to stay organized when the information you collect is all in one place. It’s time to eliminate the paper shuffle, make mail merge a thing of the past, and make electronic contract letters your new reality.
Follow-Up Resource: Quick Hits
Check out Quick Hits: Employee Letters and Quick Hits: Paperless Contracts for video walkthroughs of each of these processes.Thinking about edtech for your district? We'd love to help. Visit skyward.com/get-started to learn more.
|
Jake Breneman Product Manager |

 Get started


